MASTERS’ GUILD MEMBER GUIDE
Introduction
Welcome to the Masters’ Guild Member Guide! As a Guild Member, you’ll have the opportunity to take on quests posted by clients, helping you grow and develop your skills across a variety of jobs. Joining as a Guild Member allows you to find work that suits you and participate in a healthy, competitive marketplace. This Masters’ Guild Member Guide is designed to help you effectively navigate the platform, from sign-up to completing tasks and managing payments.
Explore the Masters’ Guild system easily through Max’s journey tutorial video on YouTube.
Masters’ Guild Member Guide: Sign-Up Process
- After signing up as a Client, click on the “Master Mode” at the top-right of the screen.
- When the Terms and Conditions pop up, enter your job title and area of activity, then click “Accept.”
- Once the Master Home screen opens, you’ll fill out your profile for Master activities. Click the profile button next to “Master Mode.”
- Click on the avatar, and a window with your information will open. Update the necessary details. It’s important to fill out as much as possible to build trust with clients.
- In the Skills section, input the skills you can perform, or simply click on any item in the list to add it.
- You can upload certificates or images and videos that best represent yourself. You can also list common questions in the Q&A section to build more trust. The Portfolio can be created by uploading details and pictures of quests you’ve completed.
- Now, for using Masters Pay, you’ll register the account where you’ll receive payments. Click on “Settings” in your profile window.
- Click on “Bank Accounts” and select “ADD NEW BANK ACCOUNT.” Enter your personal account information.
- The basic profile setup is now complete. Next, we’ll move to the Quest List to set up notifications. Click the “Quest” button at the bottom of the screen or “Go to Quest List” on the Master Home page.
- When the notification options pop up, select what you want to receive as phone notifications and email notifications under “Push Notifications” and “Email Notifications.”
- Review the services provided and choose the ones you want to participate in carefully. You’ll receive notifications when quests for the selected services are uploaded within your set radius. Complete the notification settings for posts and chats, then click “Save.”
- The setup is now complete! Let’s go perform some quests!
Masters’ Guild Class Definition
The Master’s Guild features distinct classes tailored to individual skills, much like a game system! Check the link below to see the currently established classes. Each class is determined based on the skills and activities of the masters.

Note: Legal & Finance, Health & Wellness, Automobile, Home Services & Cleaning, Internet & Telecommunication Services, Outsourcing & Freelancing, and various other job categories are continuously updated. Please refer to the categories upon sign-up.

Masters’ Guild Member Guide: Submitting a Quest Offer
- If no quests are visible in the Quest window, click the “Show All Listed Quests” button to view all the available quests. If you’ve completed the profile setup correctly, the service categories you selected will be displayed.
- Choose and click on a quest you can perform.
- Carefully review the quest details, such as the reward, date, and location, and then submit your offer. If the reward amount seems unreasonable, you can adjust it. Don’t worry too much, as you can discuss and modify it before submitting. If there’s any additional information needed, you can also write a message and then click the “SEND OFFER” button.
- You are given 10 offer tickets per day, which will automatically be replenished the next day once they are used up. Gold can be purchased from the Gold Store. If you run out of offer tickets, you can spend 2 gold to submit an additional offer. For other uses of gold, please check the event announcements.
- You can edit your offer at any time before it’s accepted. If there were any mistakes when entering the information, feel free to correct them.
- Before your offer is accepted, you may receive a chat from the client. You can make any further adjustments, such as negotiating the price, here.
- Once the client accepts your offer, it will be marked as “Accepted” in the Quest, and the quest will move to the “Processing” tab. Now, go ahead and perform the quest for the client!
Masters’ Guild Member Guide: Quest Completion
- After meeting the customer and completing the task, go to Quests-Processing, enter the ongoing quest, and click the COMPLETE button.
- If unexpected additional resources are required, resulting in a price increase, you can discuss and adjust the final amount with the customer. If you’ve entered the revised amount, or if there is no change in the price and you leave it blank, click ‘Confirm’ to complete the quest.
- When you click ‘OK,’ the Master’s quest is considered complete. If there’s an issue with the final amount or if further negotiations are needed, the process will return to a previous step before confirming. You can chat with the customer to resolve the matter and then click ‘Confirm’ again.
- When using Masters Pay, the final confirmed amount will be deposited into the Master’s account (which was entered earlier) after deducting a 5% fee. The fee is added to the customer’s payment and billed accordingly, so the Master will receive the initial amount they invoiced.
- In your profile, you can check the number of completed quests.
- When you return to the Master Home, you will see the rating left by the customer reflected there.
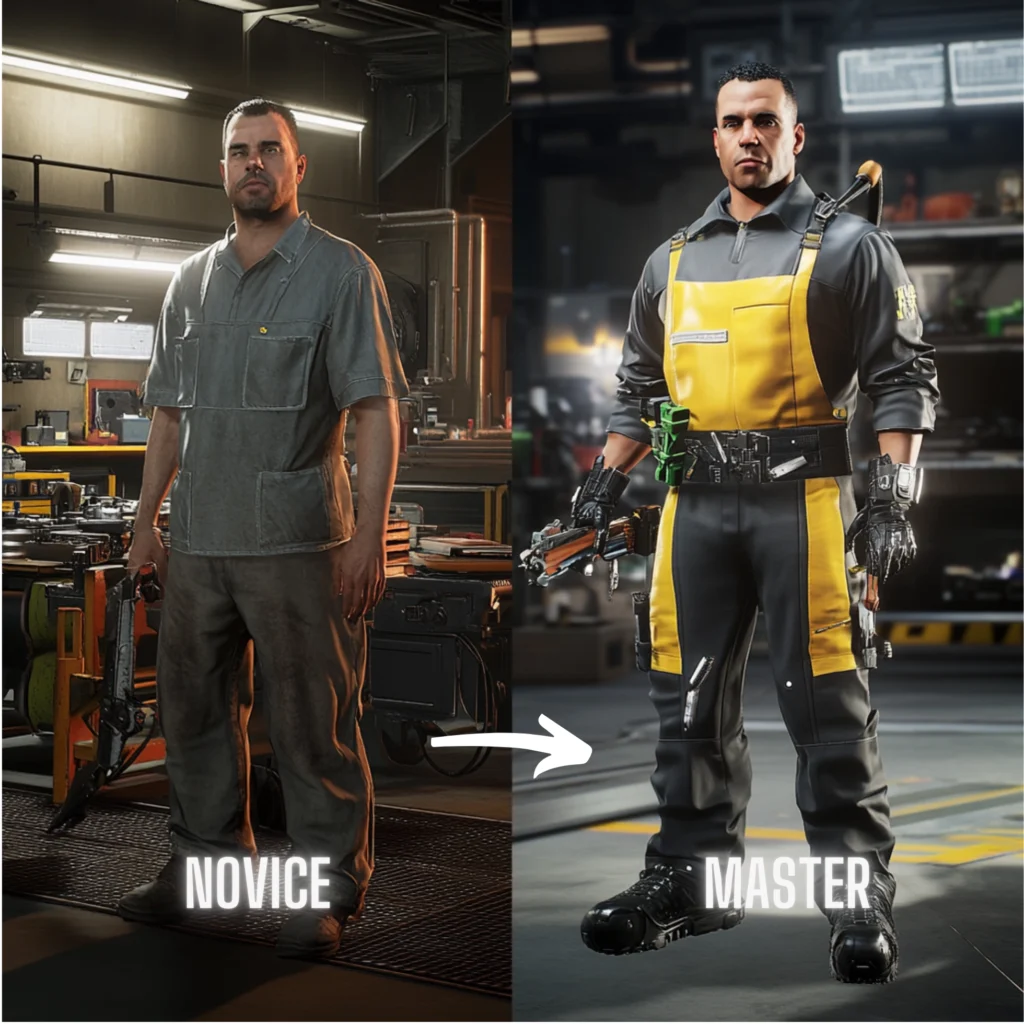
Level and Rank-Up System
Guild members earn experience points each time they complete a task. The amount of experience gained is related to the task completion time and is adjusted to maintain balance between classes. Once a certain level is reached, members will rank-up. The rank intervals are as follows:
- Level 1-9: Novice Rank
- Level 10-49: Apprentice Rank
- Level 50-99: Journeyman Rank
- Level 100-499: Expert Rank
- Level 500+: Master Rank
As you rank-up, you will earn badges corresponding to each rank. Additionally, you can receive rewards from the achievement system based on your rank.
Masters’ Guild Member Guide: Posting a Portfolio
- Once you’ve completed a quest, let’s build more customer trust by adding it to your portfolio. On the home page, click the Profile button.
- Click on the number of completed quests under ‘Quests.’
- For the task you want to add to your portfolio, click the ‘Add to Portfolio’ button.
- Carefully write the title and description, then upload any photos you took during the task under ‘Photos.’ It’s a good habit to take photos of your work.
- Click ‘Submit’ to finish and check the portfolio added to your Profile tab.
- To review and edit your completed portfolio, click the pencil icon at the top. If you want to delete it, click the ‘Delete Portfolio’ button at the bottom to make the desired changes.
Archievement System: About Missions
- On the Master home page, there is a button called ‘Missions Completed.’ Click it to enter the Achievements tab.
- The Achievement tab contains various missions, ranging from introductory profile missions to long-term challenges that you can achieve over time.
- When you click on each tab, the detailed missions will unfold. Check the conditions for each mission listed below the mission name, and try to complete them. You will be rewarded with gold based on the difficulty level of each mission.
- Completed missions will be marked with a checkmark. Let’s tackle these missions like a game and strive for Master level!
Community and Gold Market
- The Community is a small SNS within the Masters’ Guild. You can access it by clicking the Community icon at the bottom of the home screen.
- The community has four categories: Ask Masters, Used Market, Masters’ Tips, and Collaborations. Please post according to the relevant category.
- To post, click the + button at the top-right of the screen.
- Enter the content you want to post, and you can also attach photos. Once you click the ‘Submit‘ button, your post will be published.
- The currency of Masters’ Guild, gold, is typically used up when submitting many offers, but Masters who engage in side activities will accumulate gold by completing various missions. There’s a Gold Market to use up that gold.
- You can enter the Gold Market by clicking the Gold icon on the home screen.
- Items available in the Gold Market are continuously being searched for and will be regularly updated.